


WordPress – Windows使用PhpStudy本地部署WordPress
1 PhpStudy
官网:https://www.xp.cn/
Windows下载地址:https://www.xp.cn/wenda/401.html
解压安装即可,假如PhpStudy的安装路径为D:\Program Files (x86)\PhpStudy,记住该路径名,之后会有用处。
2 下载WordPress
中文官网地址:https://cn.wordpress.org/
下载WordPress的安装包并解压。
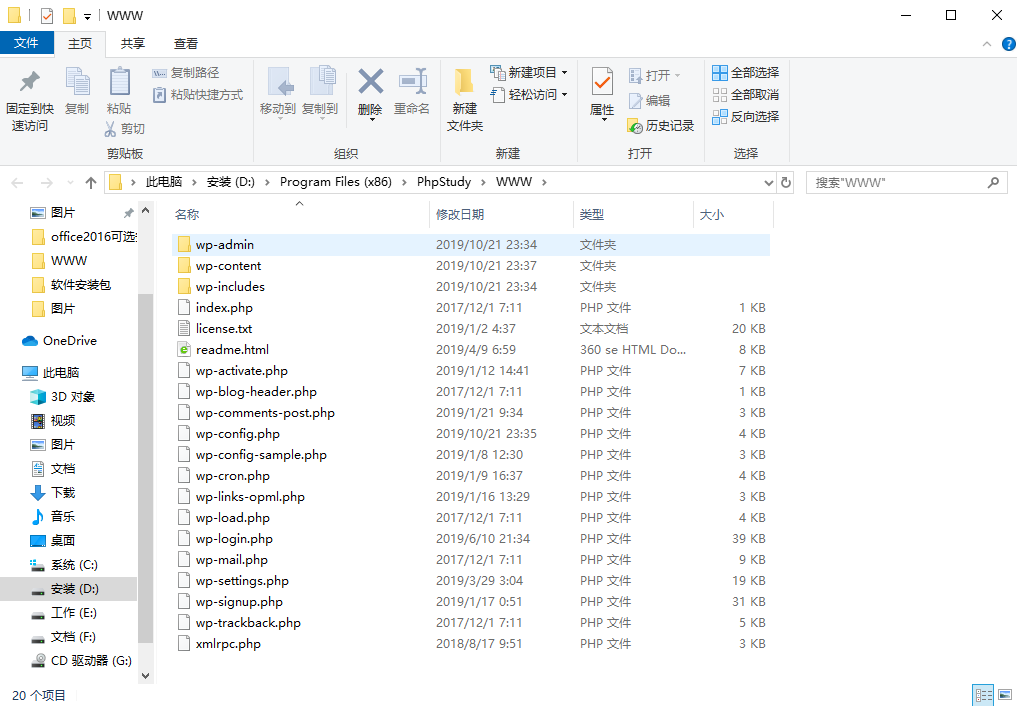
3 解压缩WordPress到phpstudy网站根目录
如第一节中PhpStudy的安装路径为
D:\Program Files (x86)\PhpStudy,
则将WordPress解压缩到PhpStudy安装路径的WWW文件夹下,即
D:\Program Files (x86)\PhpStudy\WWW
如下图所示:
4 使用PhpStudy创建WordPress数据库
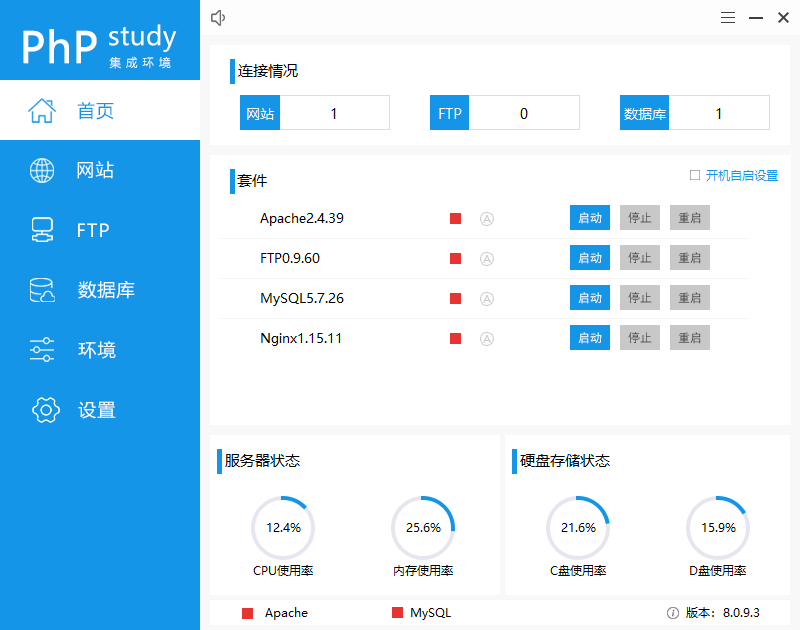
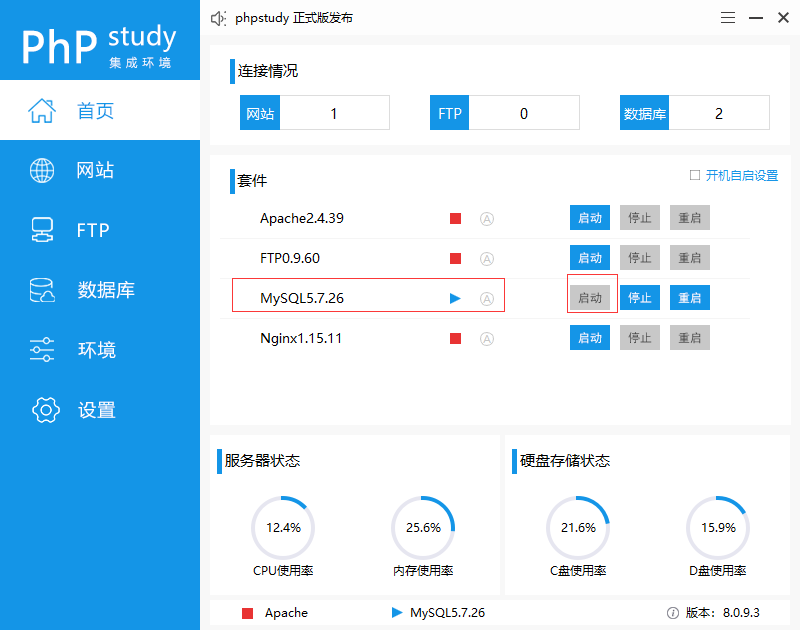
首先在phpstudy首页开启MySQL,如下图所示。
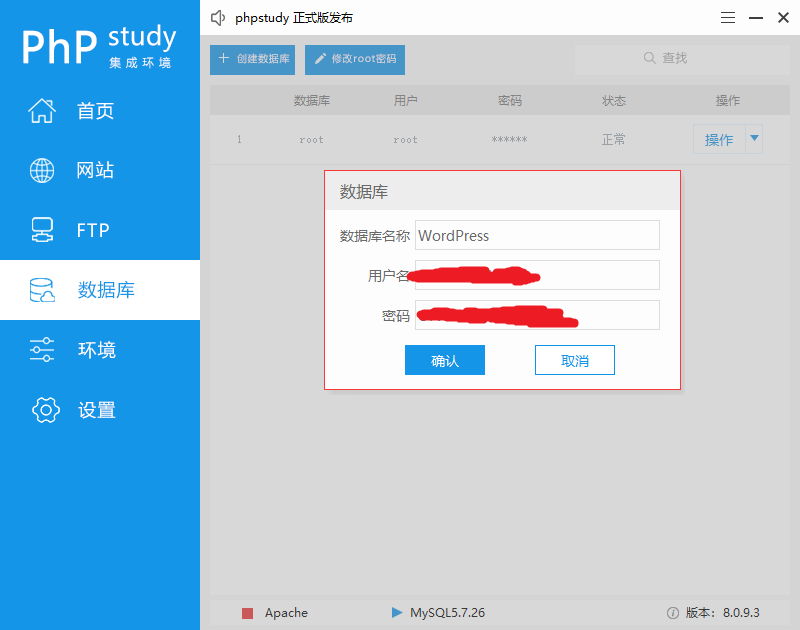
然后换到数据库页面,创建新的数据库,如下图所示:

创建一个新的数据库WordPress,输入用户名以及密码,以便作为WordPress的数据库使用,如下图所示:
5 本地部署WordPress
在首页开启Nginx或者Apache,如下图所示:

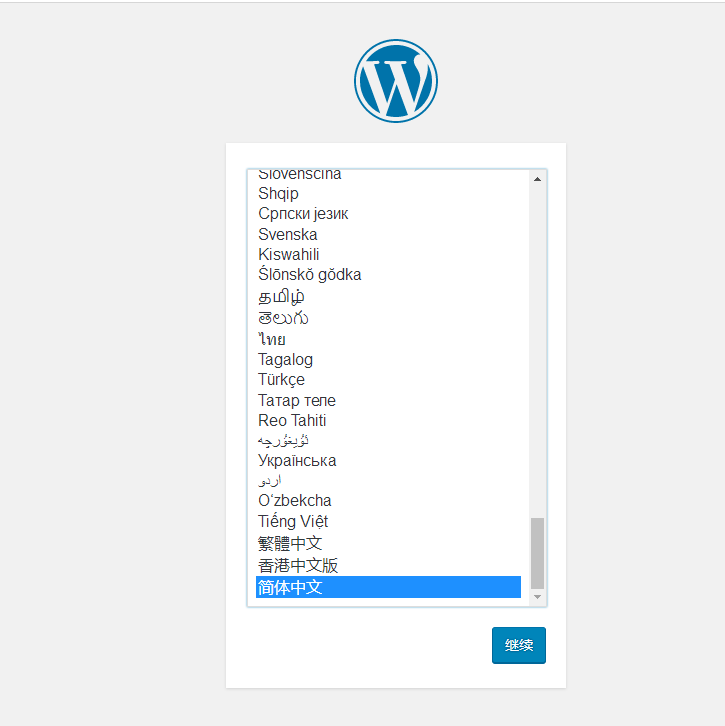
然后在浏览器输入http://localhost/wp-admin/ 进入WordPress的后台管理界面,并选择WordPress语言为简体中文,如下图所示。
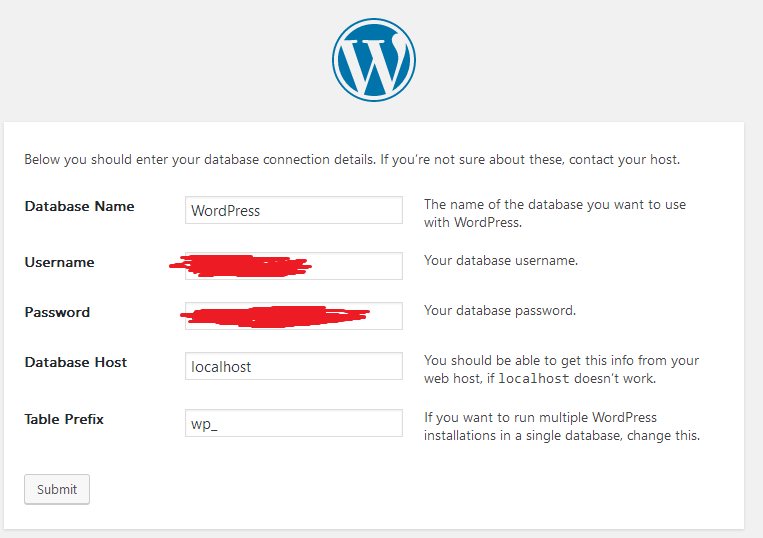
点击下一步直到出现需要输入WordPress所使用的数据库的名称以及密码,则输入在上一步创建的MySQL数据库作为WordPress的数据库,输入该数据库的用户名以及密码,如下图所示:
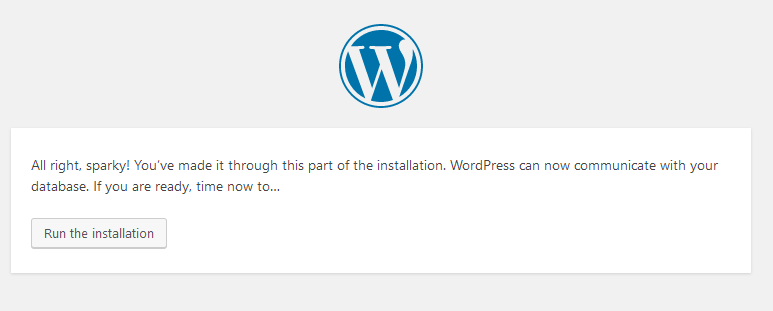
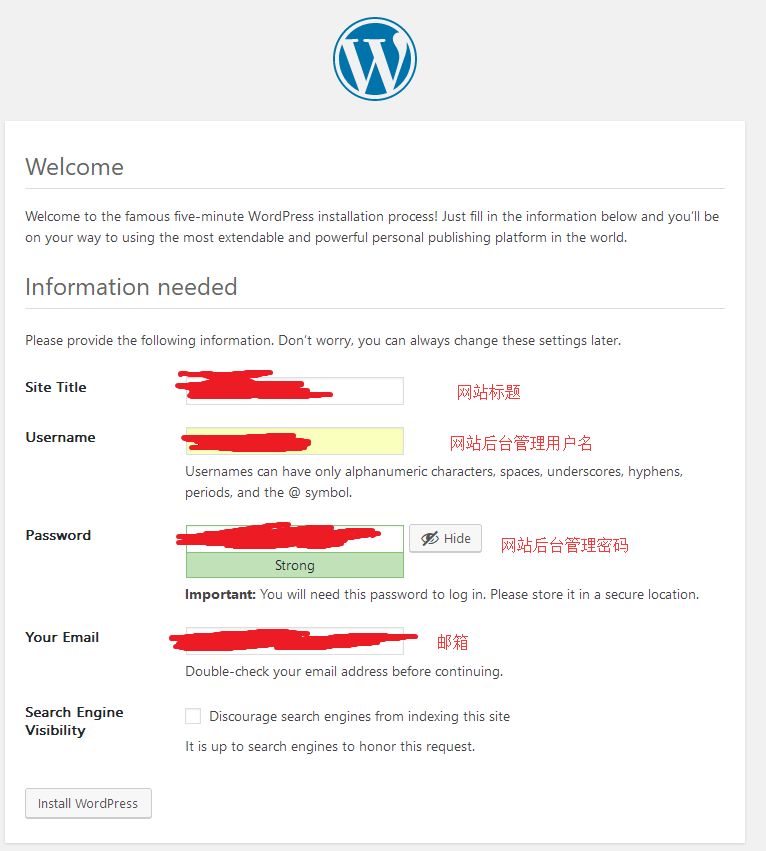
然后点击点击Run the installation,并依次输入依次输入网站标题,以及后台管理用户名,管理密码,如下图所示:
然后等待WordPress安装完成即可,在WordPress安装完成之后,输入输入http://localhost/ 即可访问在本地搭建的WordPress网站。
本文作者:StubbornHuang
版权声明:本文为站长原创文章,如果转载请注明原文链接!
原文标题:WordPress – Windows使用PhpStudy本地部署WordPress
原文链接:https://www.stubbornhuang.com/159/
发布于:2019年11月02日 23:46:26
修改于:2023年06月26日 23:01:52
声明:本站所有文章,如无特殊说明或标注,均为本站原创发布。任何个人或组织,在未征得本站同意时,禁止复制、盗用、采集、发布本站内容到任何网站、书籍等各类媒体平台。如若本站内容侵犯了原著者的合法权益,可联系我们进行处理。
评论
57